pyRouterJig A woodworking layout tool for creating box and dovetail joints
Drop-down menus
Drop-down menus are located at the top of the application window, except for
the Mac, where menus are placed in the menubar at the top of the screen.
There are four menus available (on the Mac, five menus, with some items noted
below under the pyRouterJig menu), described below.
Note that on the Mac, the keyboard shortcuts use the Command key rather than Ctrl.
- File:
- Open (
Ctrl-O) Opens a previously saved or screenshot file (see Save and Screenshot). pyRouterJig embeds the joint data in thePNGimage files that it saves. Opening thePNGfile will allow you to start work again where you left off. Note that in the Editor mode, the Undo history is not saved. Any of the images in this documentation page may be opened with pyRouterJig. For the wood images described in the section Wood Pattern Selection, only the name of the wood image is saved. So if the image uses wood images, such as theblack-walnutandmahoganyin this example, and those images are not found in your ownwood_imagesfolder, then a simple pattern is substituted. - Save (
Ctrl-S) Saves the joint figure as aPNGfile. By default, the image files are placed in your home directory, numbered sequentially aspyrouterjig0.png,pyrouterjig1.png,pyrouterjig2.png, and so on. The image size is the same as your current window size, but no smaller thanMin Image Widthand no bigger thanMax Image Width, both of which may be set under Preferences. By default, both are set to1440, meaning that all saved images are of this width. Figure 11 shows an example saved image.
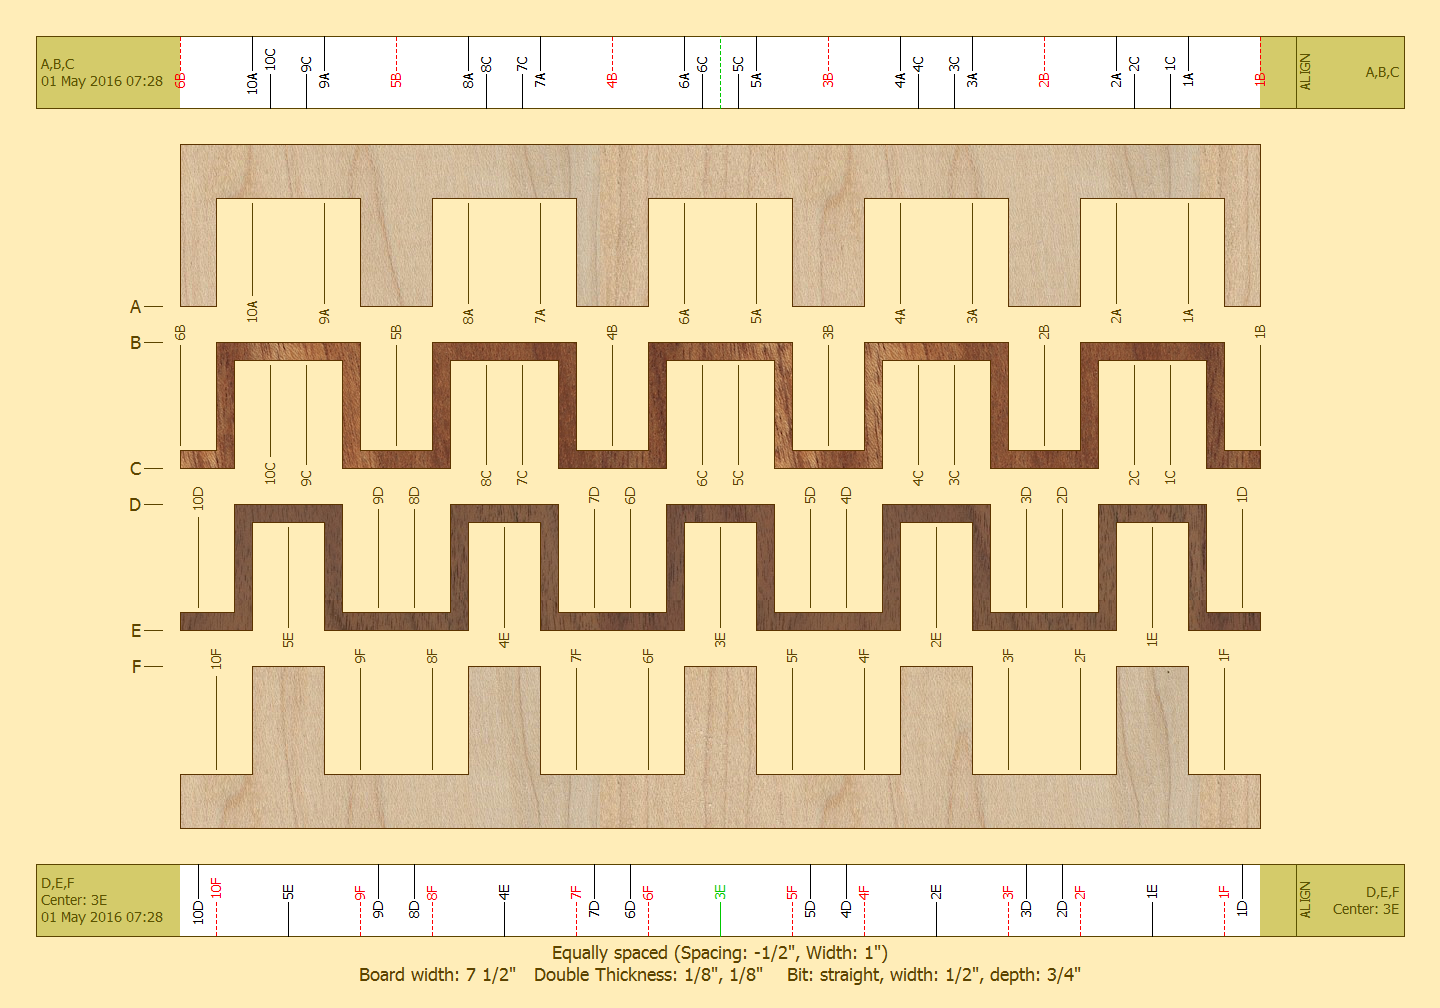
Figure 11. The same case as this example, but using Save rather than Screenshot to create the image file. - Print (
Ctrl-P) Allows you to print the joint diagram (including print to a file). pyRouterJig prints through a preview screen. Press the printer icon at the upper-right of the preview screen to either select the printer, or to print to a file. - Quit (
Ctrl-Q) Quits pyRouterJig (on Mac, located under the pyRouterJig menu). If you've made any changes to the joint and haven't saved it, then you'll be warned.
- Open (
- View:
- Caul Template Toggles the caul template (default may be set under Preferences). The caul template is an additional template that can be used to create clamping cauls for the joint with the INCRA LS Positioner. It’s assumed that a straight router bit of the same width is used to create the cauls. The template follows the same pattern as that for the Top and Bottom Boards, but with narrower fingers. By default, 1 increment is removed from the side of each finger. Figure 12 shows an example of the caul template. Phil Barrett also has a very nice tutorial on clamping cauls using pyRouterJig.

Figure 12. The same as the opening screenshot, but after toggling Caul Template under the View menu. The A-cuts on the Cauls template will create a clamping caul for the Top Board, while the B-cuts create a clamping caul for the Bottom Board. - Finger Widths Toggles whether the finger widths are displayed on each finger of each board.
- Fit Toggles a view of the joint assembled. By “assembled”, we mean a flattened, two-dimensional view. This view is useful for checking the fit of dovetail joints, which because of the Incra’s positioning at discrete increments, can result in a small amount of overlap in the fit.
- Router Passes Options under this menu control if and how router passes are drawn on each board. If all options are unchecked, then no router passes are drawn. The values are:
- Identifiers Toggles whether the pass identifier is included in the label.
- Locations Toggles whether the pass location is included in the label. The location is measured from the right side of the board. By aligning the Incra ruler to the right side of the board, the locations may be used to double-check the alignment of each router pass. This can be useful if your printer is not very accurate.
- Full Screen Mode (
Ctrl-F) Toggles full-screen mode. On the Mac, the operating system adds an additional menu item called Enter Full Screen, which is buggy. Use Full Screen Mode instead.
- Tools:
- Screenshot (
Ctrl-W) Similar to Save, but includes the entire pyRouterJig application window. The image size is the same as your current window size. The opening screenshot image was created with Screenshot. Screenshots always use the default filename for output and are meant to be used to quickly generate image files (such as for this documentation!). - Export 3DS (
Ctrl-E) Allows you to export certain joints to a 3DS file. A 3DS file may be imported into SketchUp. This feature is under development and currently unavailable for dovetail bits, Double joints, and Double-Double joints. - Preferences (
Ctrl-,) Opens the Preferences window (on Mac, located under the pyRouterJig menu).
- Screenshot (
- Help:
- About (
Ctrl-A) Pops up a window showing the version and license (on Mac, located under the pyRouterJig menu). - Documentation Opens your default browser and goes to the documentation page you are now reading. You must have an Internet connection for this operation to work.
- About (